Using a Transcranial Direct Current Stimulation Device to Zap Myself Smarter
My senior year of high school, my sister and I had become somewhat addicted to listening to RadioLab podcasts on the commute to and from school. One day near the beginning of the first semester, I heard this episode from RadioLab titled “9-Volt Nirvana” about a form of ‘brain enhancement’ known as Transcranial Direct Current Stimulation. My initial thought after hearing it was “I can do that.” So with no prior knowledge of circuity, soldering, or neural stimulation, I set to find out if TDCS was actually effective.
Overview
Transcranial Direct Current Stimulation (TDCS) is a form of neurostimulation that will deliver a constant current to a persons brain over a specified amount of time. In the medical world it has been found to have a wide variety of uses, such as decreasing pain, treating depression, and even aiding with the healing of brain injuries. However, recent studies have shown that TDCS has the ability to enhance cognitive ability in heathy people.
The explanation behind how TDCS works is shown through the neurons present in the human brain. These neurons communicate using small electrical pulses, called synapses, to relay information. Stimulating certain parts of the brain with so-called “electrical synapses”, can conduct nerve impulses faster, which allows information to pass from neuron to neuron more quickly. The current induces intracerebral current flow to increase or decrease neuronal excitability.
Building My Own TDCS Device
To find out if TDCS actually works, I decided to build my own from scratch, making great use of this guide, and was able to keep the total cost of the project around 10 dollars, including shipping and handling.
The materials I used were:
- Toggle Switch
- 3.3k Ohm resistor
- 1k Ohm resistor
- 680 Ohm resistor
- 500 Ohm trim. potentiometer
- 5k Ohm potentiometer
- Blue LED light
- LED bezel
- 2N3904 NPN transistor
- Red banana jack
- Black banana jack
- 9V battery clip
- Potentiometer knob
- Banana jack compatible leads with alligator clips
- 3D printed project box
- Red and blue sponge cloth
- Aluminum mesh (3”x3”)
- Aluminum foil
- Thread
- Saline solution (equal parts water and salt)
I was able to find almost all of these parts online for just a few cents each, and had them shipped directly to me. Now let’s get into the building of the box.
Step 1: Assemble the circuit on a solderless breadboard
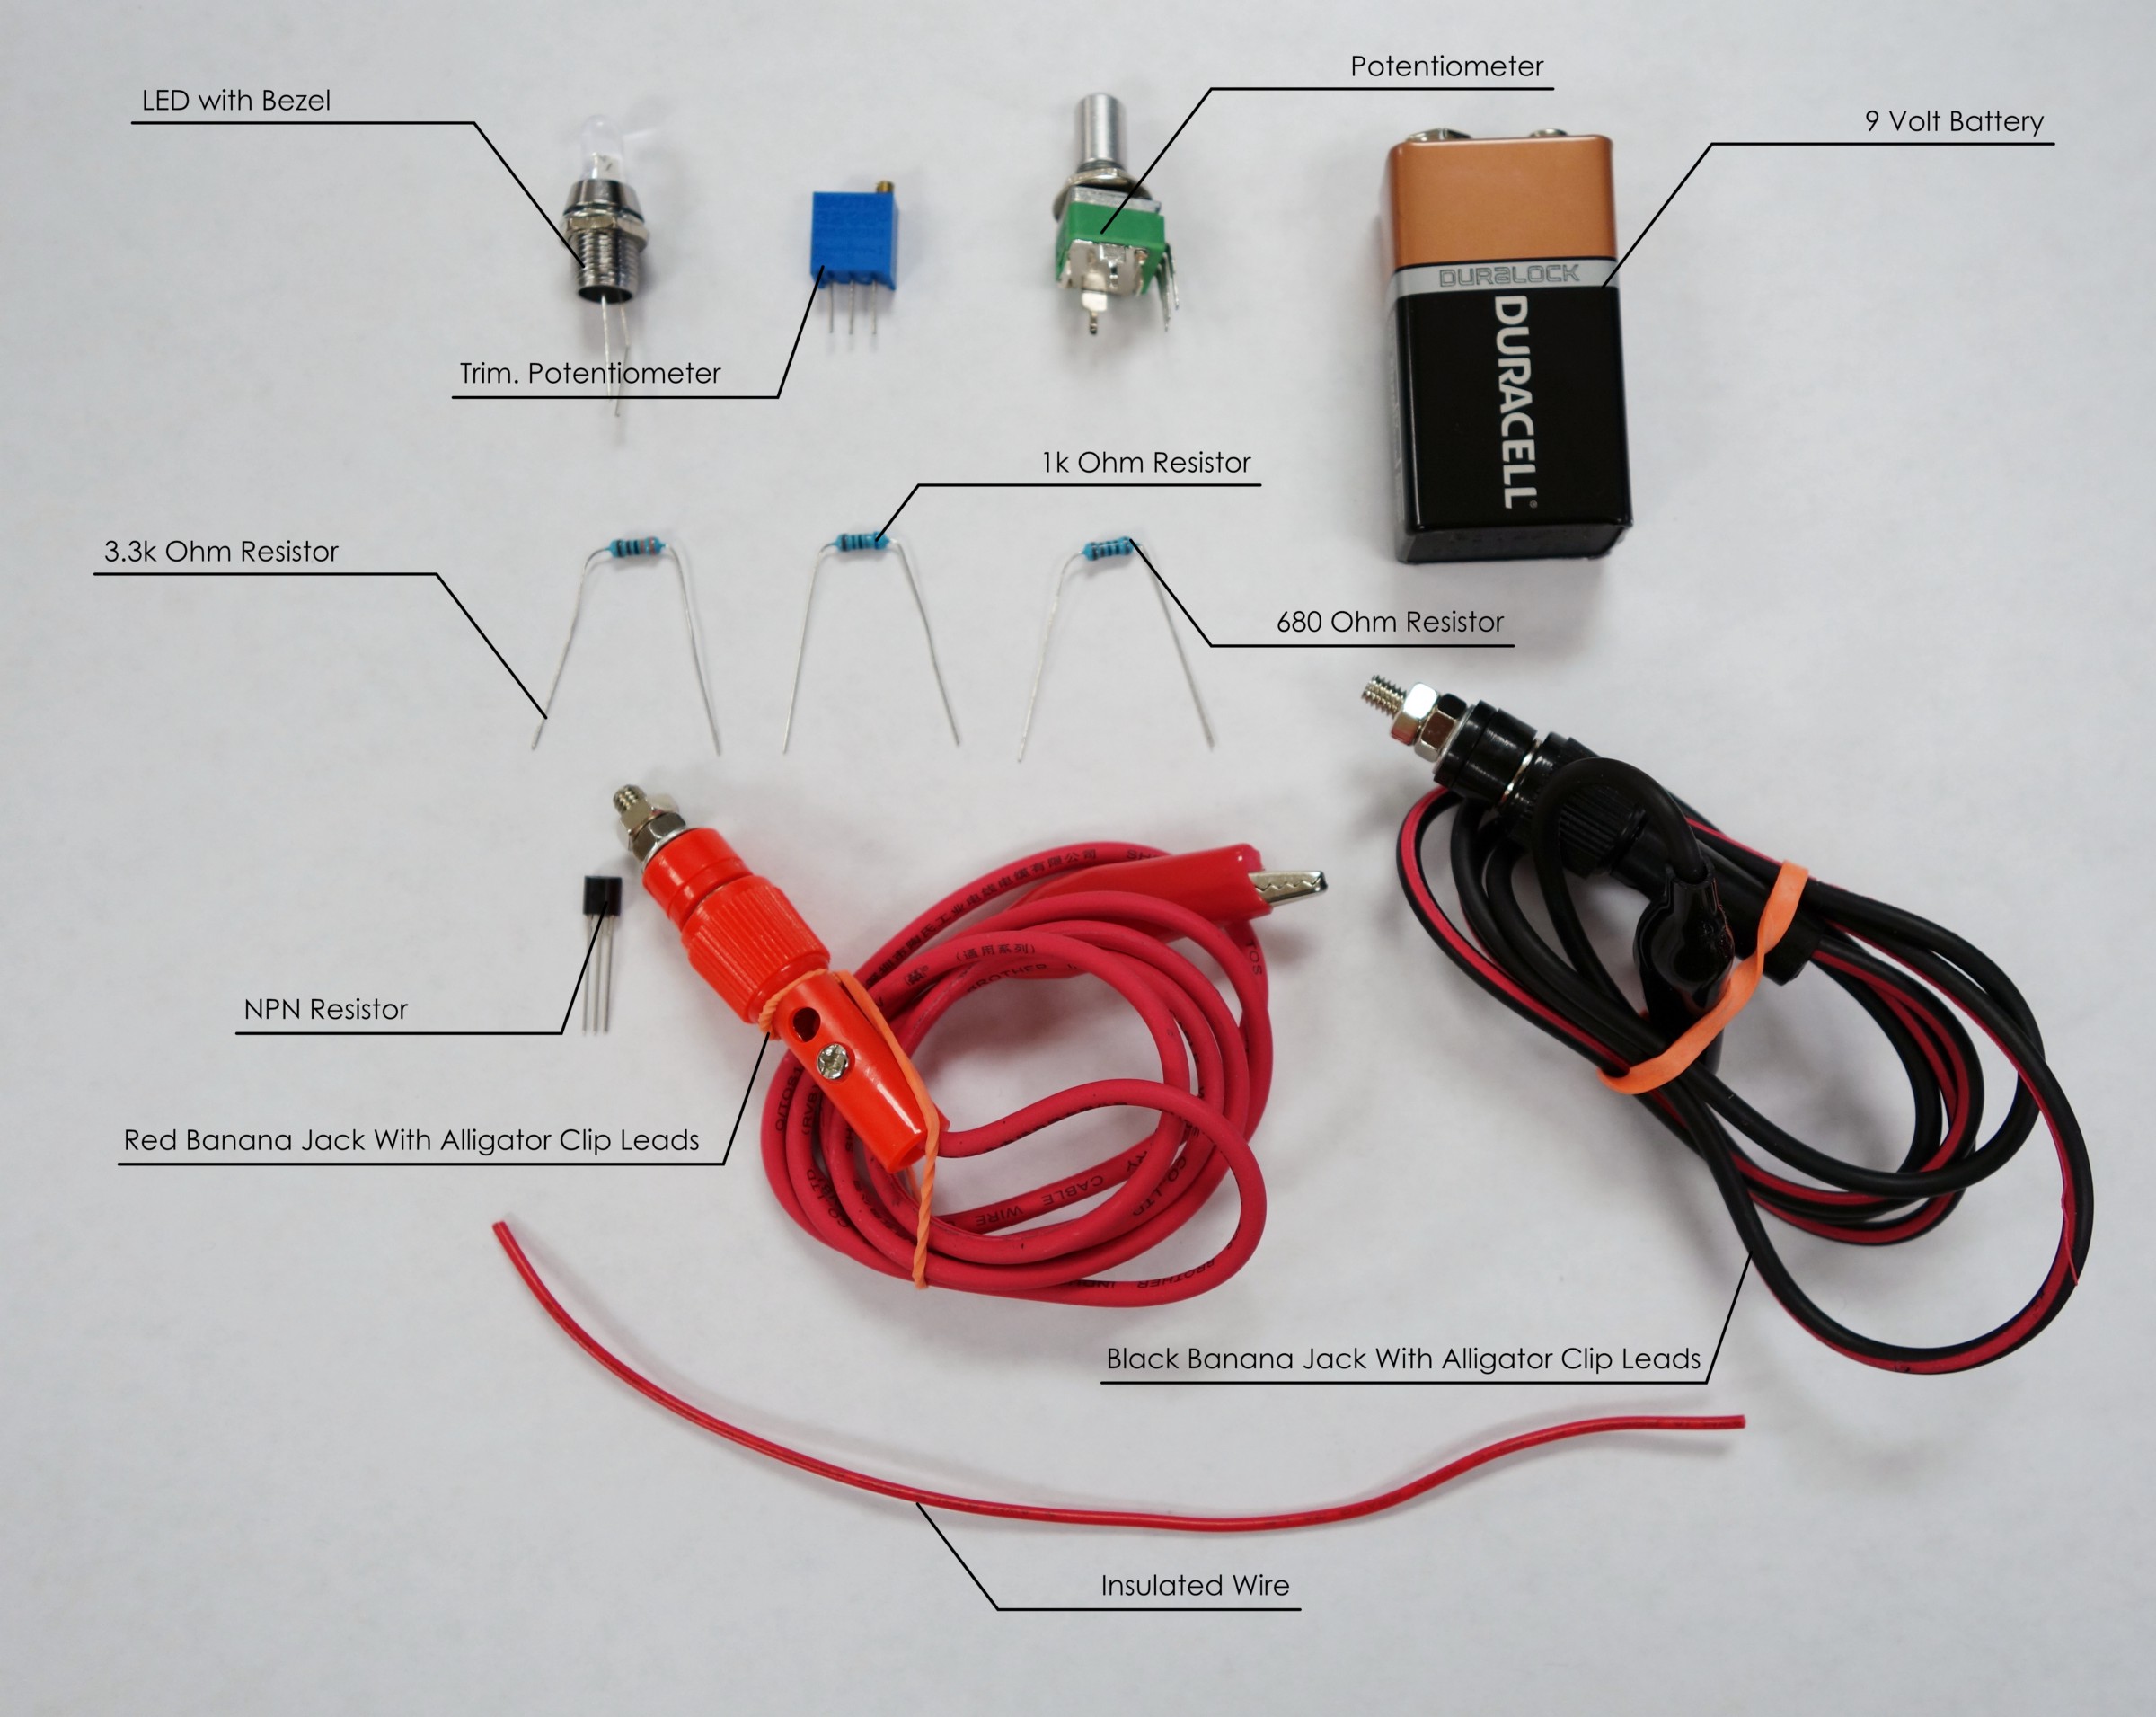
The electronics needed to build the TDCS device
Before they were permanently put together, all of the components were laid out on a breadboard to ensure that they were working in the correct way and functioned properly.
Step 2: Design a 3D enclosure to house the components
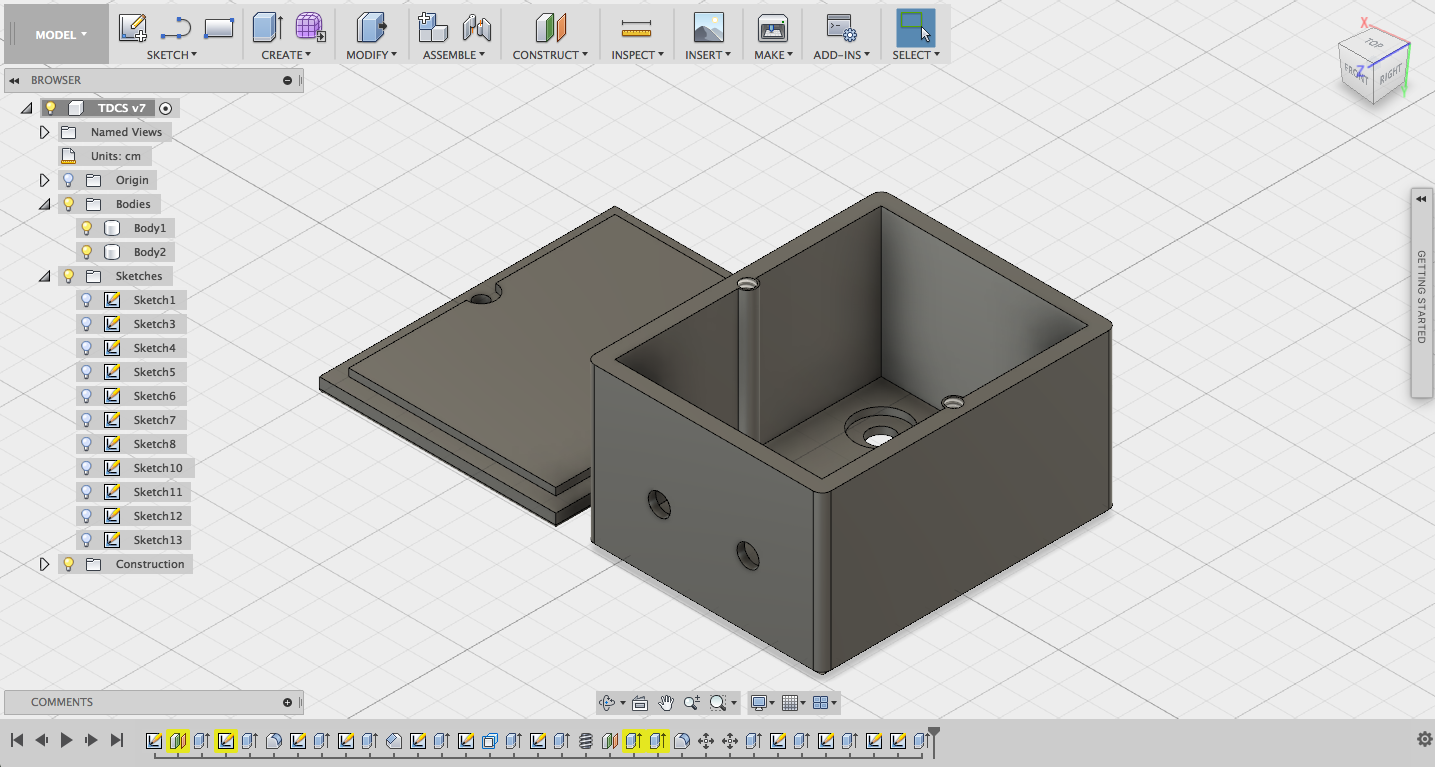
3D TDCS enclosure designed by me
To ensure that each of the parts of the apparatus fit well, I decided to model my own box using Autodesk Fusion. The file is available to download for free here, and can be changed to fit any specifications.
Step 3: 3D print the enclosure box
After exporting the box as a .stl file, I 3d printed the box using the printer available in my engineering classroom. The box was printed using gray plastic filament.
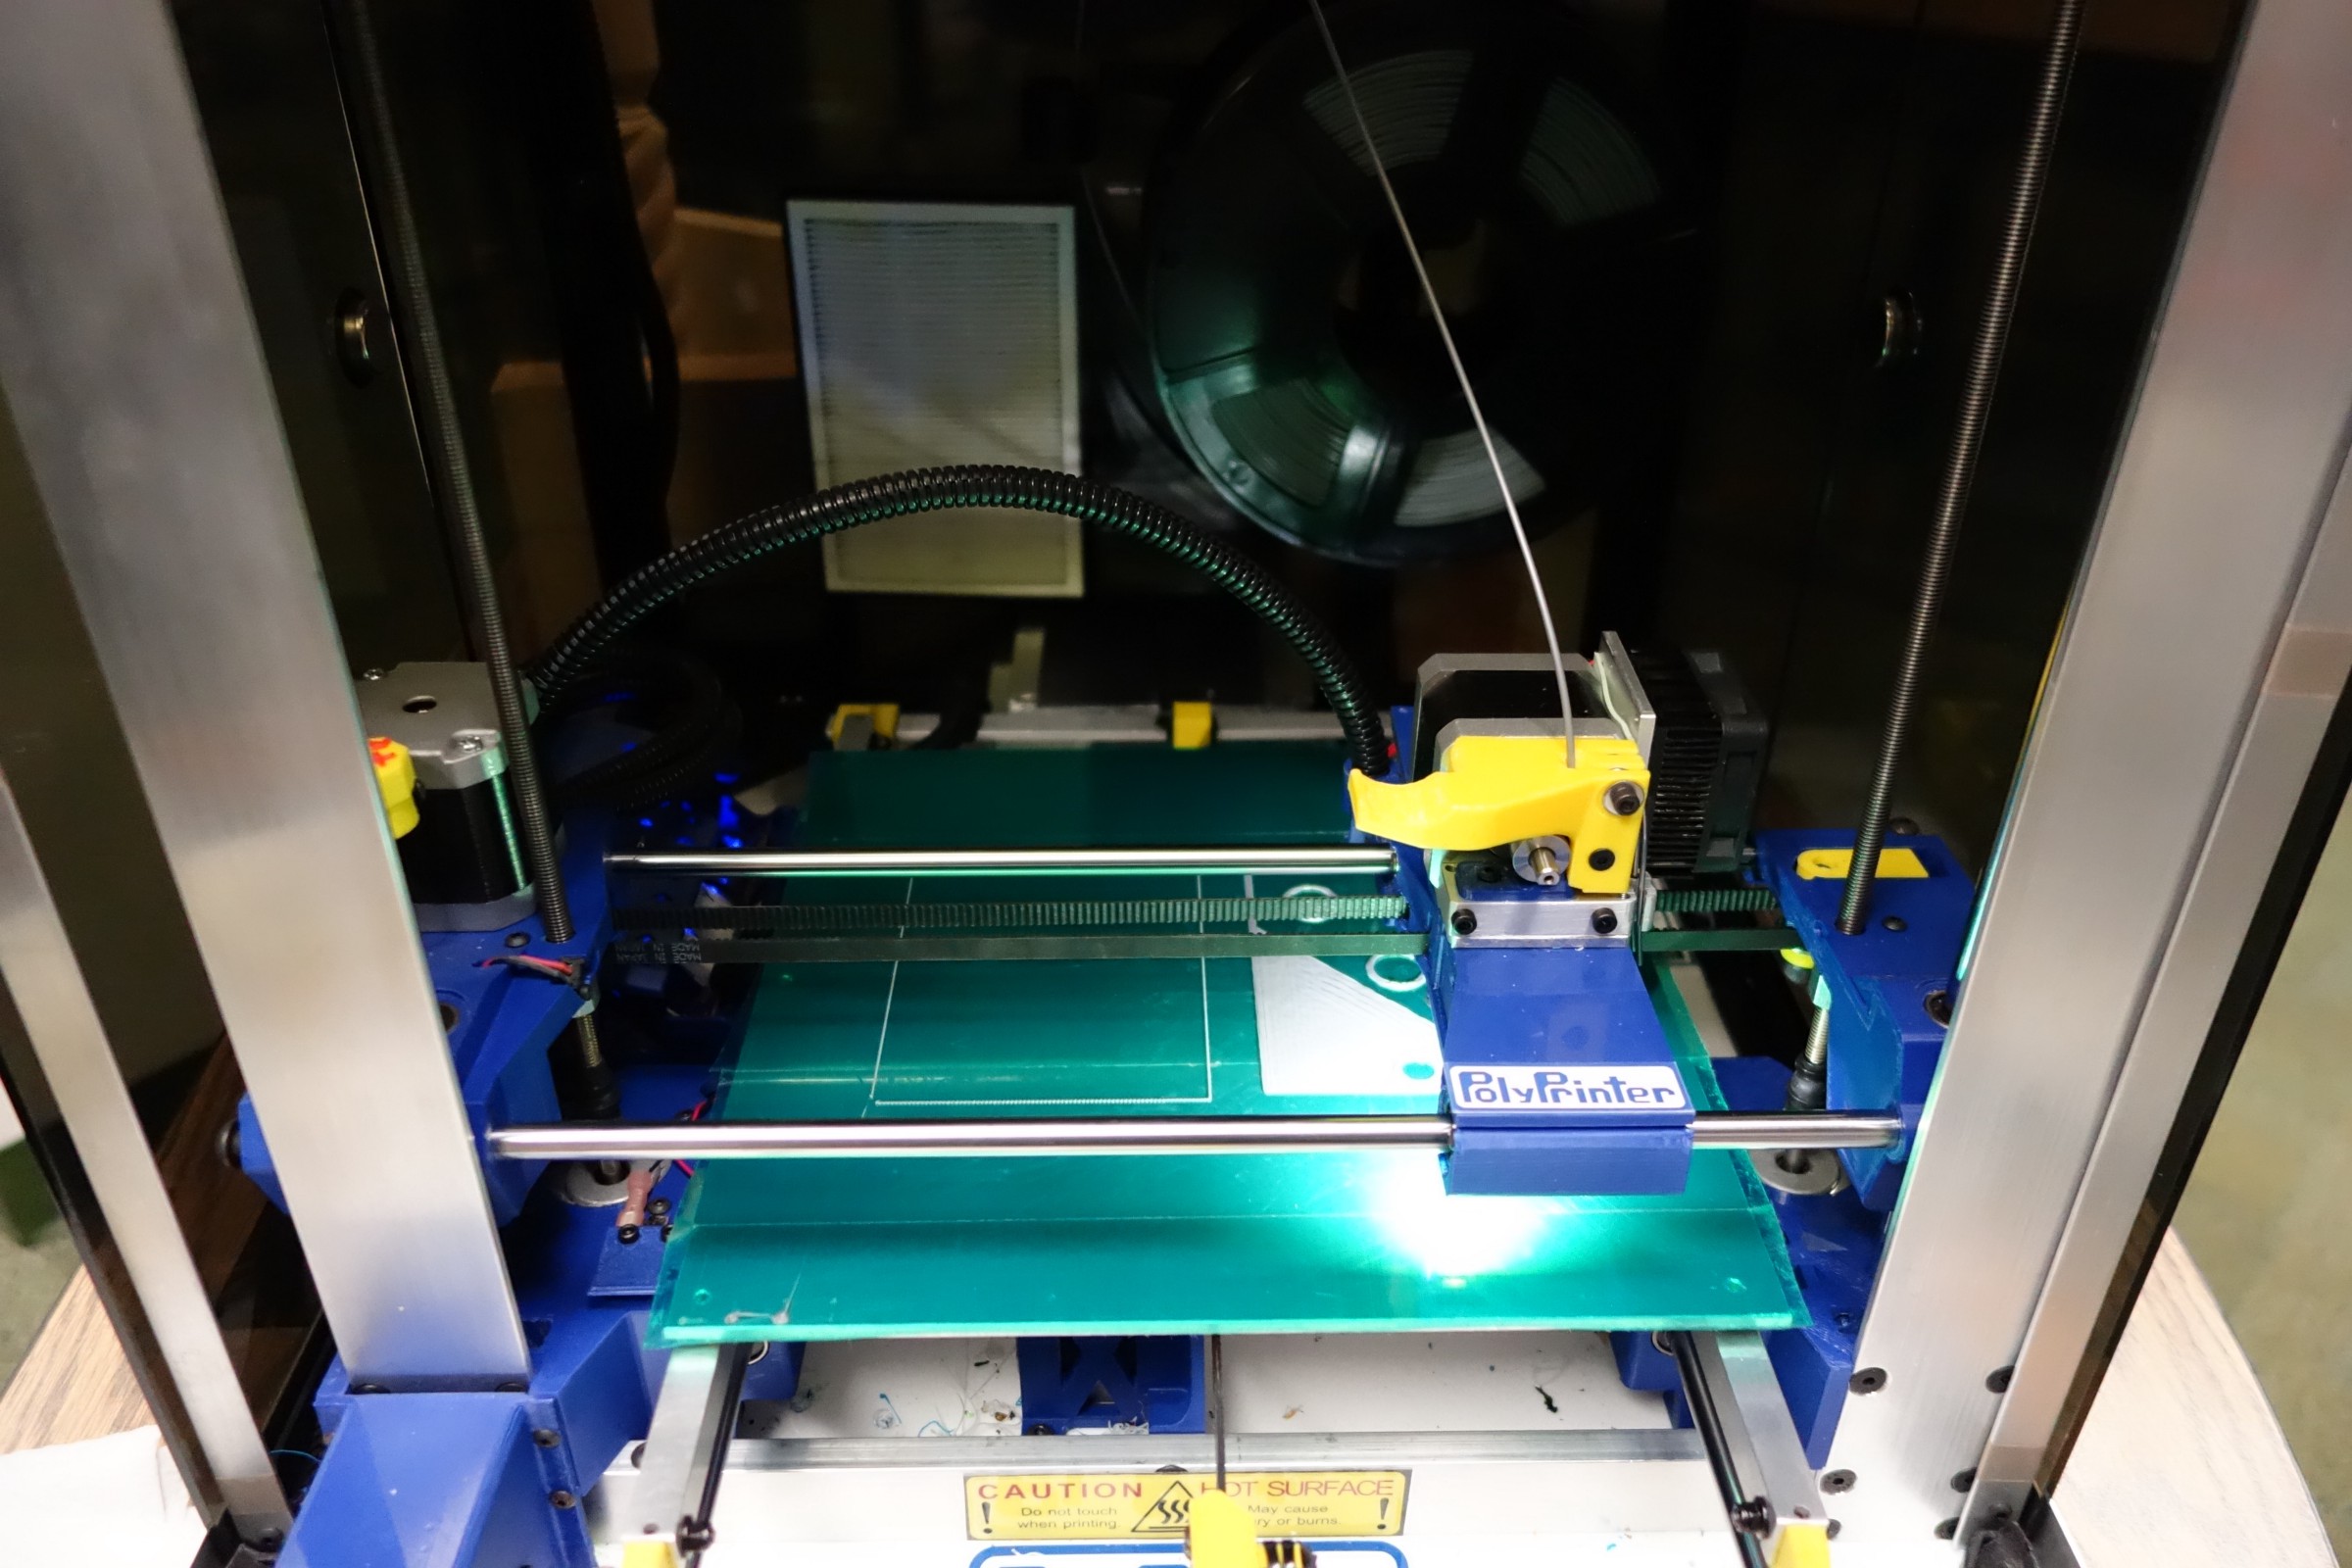
The box printing on a PolyPrinter
Step 4: Paint the 3d Printed box
After printing and sanding the box, I decided to paint it with a coat of black lacquer and then a coat of clear lacquer to provide a shiny finish. In hindsight a different kind of paint may have better suited for the box, but spray lacquer was the only thing I had at my disposal.
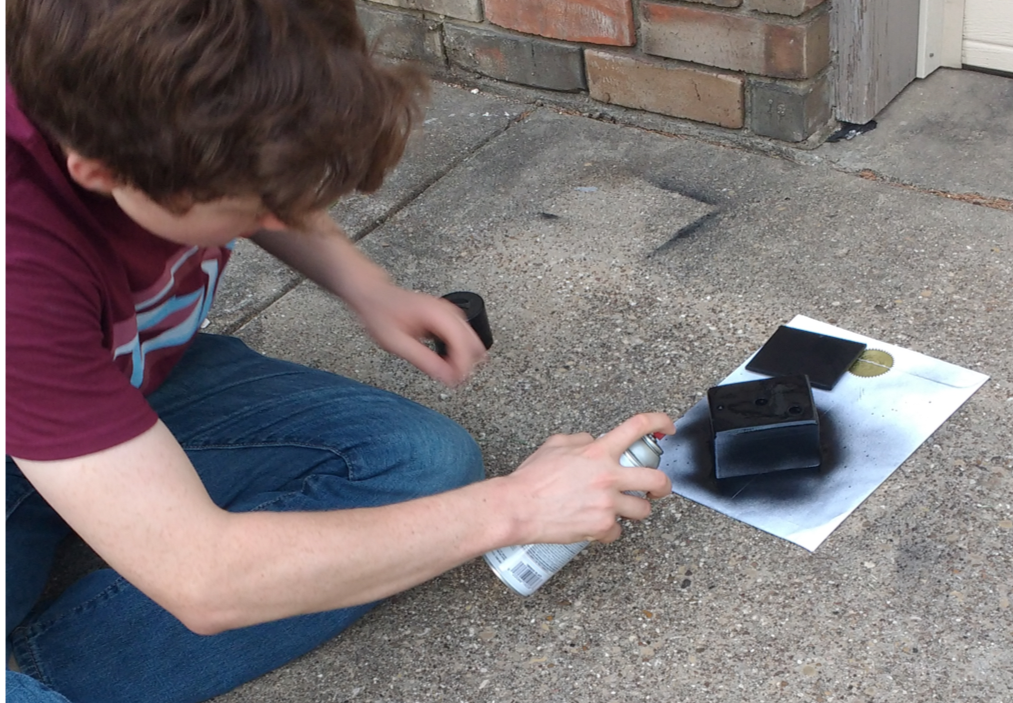
Me spray painting the box
Step 5: Solder the components together in the box
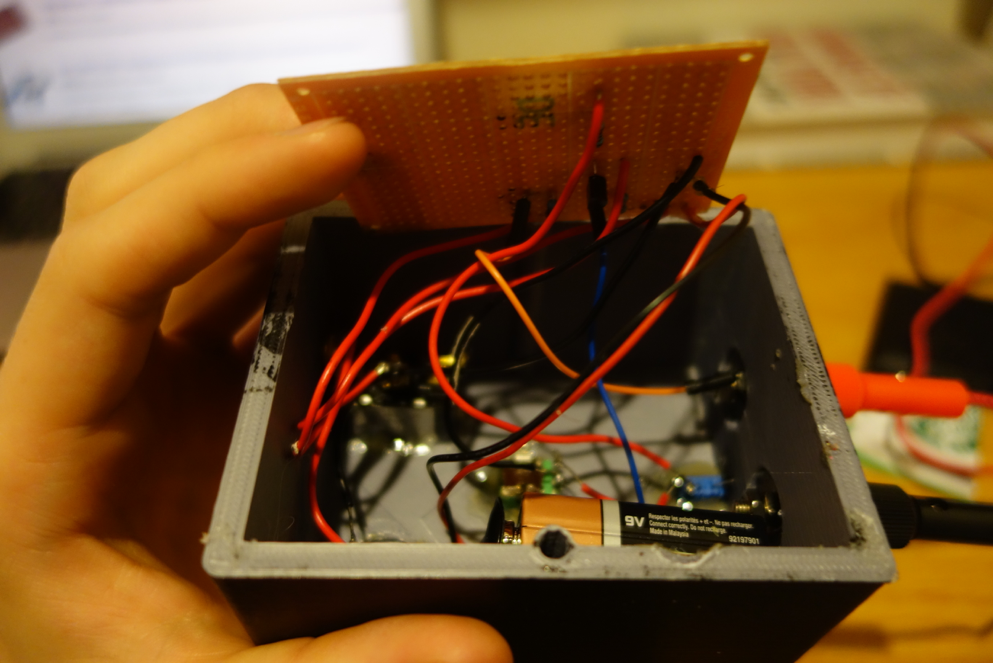
The completed (but messy) circuit in the enclosure
I used a Protoboard to keep the components (somewhat) neat and organized in the project box. All the components that did not need to be attached to the outside of the box were placed on the Protoboard. All the components that did need to be on the front were screwed in and/or hot glued in place, and then connected with wires to either the Protoboard or another component.
Special thanks to Lane Womack for helping me understand the circuit diagram and teaching me how to solder

The circuit diagram I used for the project
Step 6: Create Sponge Electrodes
The sponge electrodes were the components of the device that would actually come into contact with the user’s skin. The sponges are soaked with saline solution to allow conductivity, and are attached to the box via the alligator clips. The electrodes themselves consist of a small piece of aluminum mesh inside of a 3in x 3in sponge cloth, sewn shut and attached to an elastic headband.
This design was inspired by this post from Reddit user /u/Kulty.
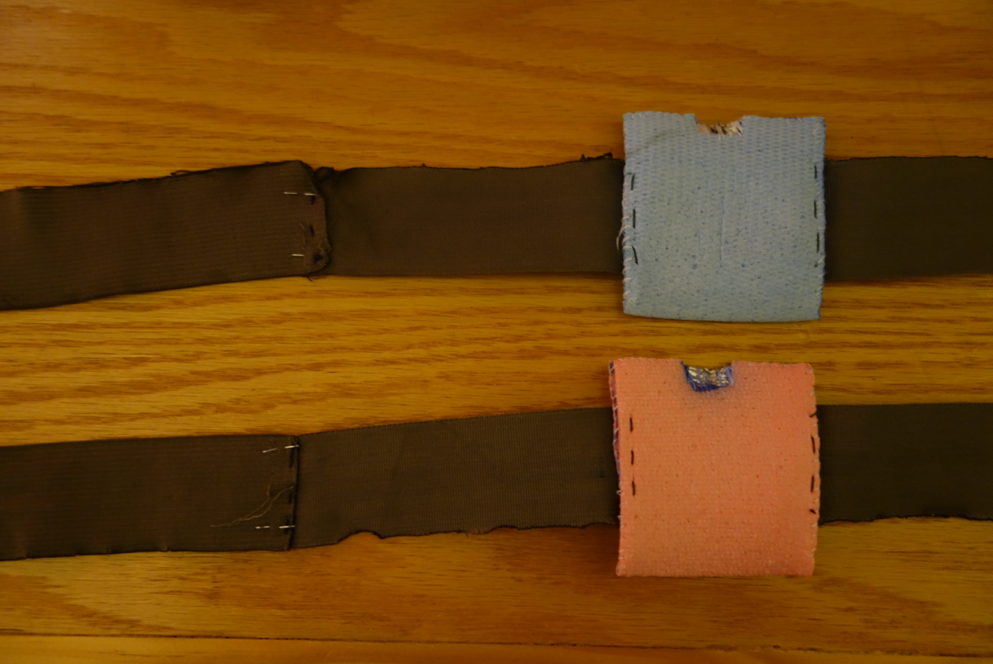
The electrodes I created for the TDCS device
Step 7: TDCS Testing
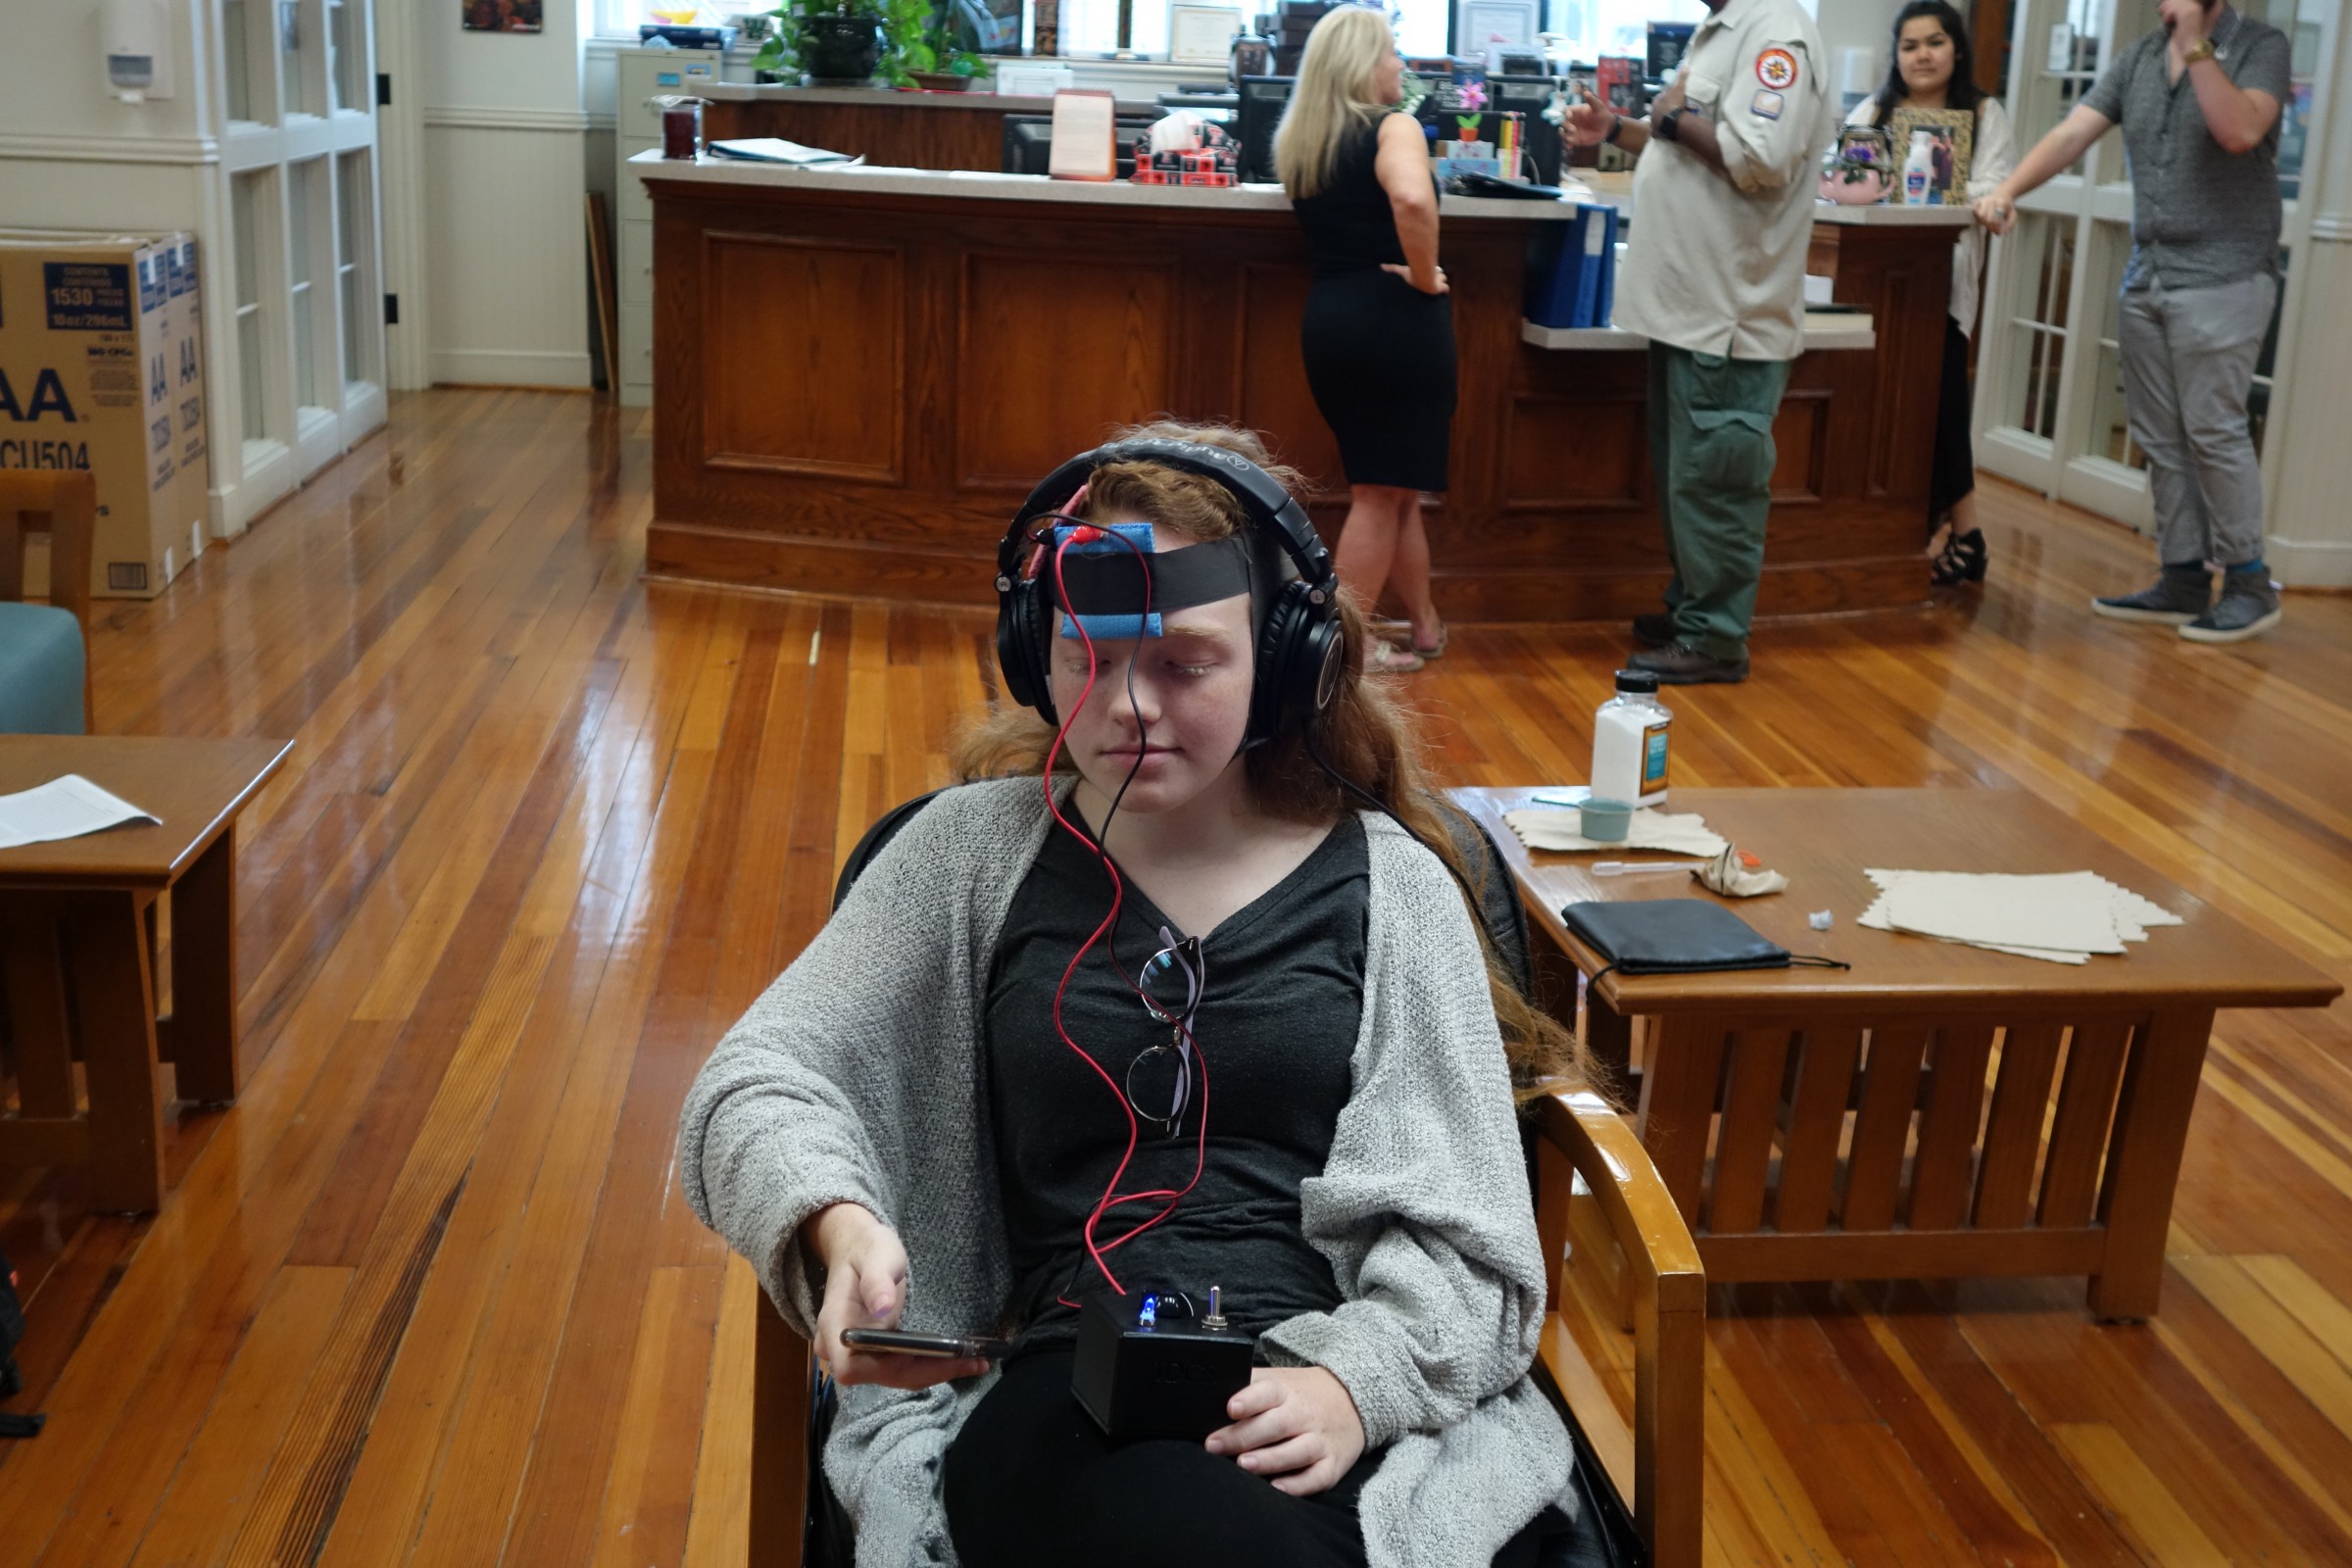
A participant of the study
To ensure the TDCS was making a difference in the user, I devised a clinical trial to show if it had any effect. I had three groups play the same video game twice. The first group would play the game, wait twenty minutes, and then play the game again. The second group would play the game, receive 15 minutes of TDCS treatment, and then play the game again. The third group would play the game, be told they were receiving 15 minutes of TDCS treatment, although no treatment would actually take place.
Conclusion
I have personally used the TDCS device a few times, performing a task that required fine-tuned motor control, stimulating myself, and then performing the task again. Each time I noticed no difference in my ability, and it did not seem to enhance my mental abilities overall. However, the results of my TDCS study were very interesting and not at all what I expected.
In my next post I will explain the methods, procedure, and results from the study, and what the implications of it could be.